Next Page Previous Page Home Tools & Aids Search Handbook
Tools & Aids
Course Builder


Course Builder: Usage

Introduction
What is Course Builder? Course Builder is software for custom packaging of the e-Handbook material for teaching specialized courses. That is, you can extract selected pages out of the e-Handbook and bundle them into a single course. This course takes the form of a set of HTML pages.

Course Builder runs as a Perl-based CGI script.

Getting Started It is assumed that you have already sucessfully installed the Course Builder and have activated the appropriate link on the main Course Builder web page.

The first step is to click on this Course Builder link.

Initial Screen When you activate the Course Builder, you should see something like the following:
Initial Course Builder Page
Three Components The Course Builder brings up two browsers consisting of three components:
  1. The upper frame of the first browser contains the action buttons. Specifically,

    • The first button is "Add Page". Click this button when you want to add a page to the Course Builder project.

    • The second button is "Remove Page". Click this button when you want to remove a page that has previously been added.

    • The third button is "Clear All". Click this button to clear all previously entered pages (i.e., start over).

    • The fourth button is "Next>>". Click this button when you have added all the pages that you want.

  2. The lower frame of the first browser initially contains the text "No pages selected.". As pages are added, this browser frame maintains a list of the e-Handbook pages currently in the Course Builder project.

  3. The second browser starts with the e-Handbook homepage.
Creating the Course
Adding Pages The basic idea in using the Course Builder is as follows:
  • In the browser containing the e-Handbook pages, navigate to the page you want to add to your course.

  • Once you find the desired page, click the "Add Page" button to add that page to your course.
Simply repeat this procedure until all desired pages are added.

The image below shows a typical screen after adding a number of pages to the course. You can click on one of the entries in the lower left frame to go to that page in the e-Handbook. For example, if you want to delete one of the added pages, click on the link for that page and then click on the "Remove Page" button in the upper frame.

Course Builder after a number of pages have been added
Saving the Course
Click "Next>>" to Initiate Save After you have completed adding all desired pages from the e-Handbook, click on the "Next>>" button in the upper left frame.

The first browser reverts to a single frame that will look like the following image.

Course Builder after a number of pages have been added
Page to Assemble the Course There are a number of features in this assembly page.
  • At the top is a course title. The default title is "Engineering Statistics". You can edit this to a title of your choice.

  • The course Builder will show a table of the pages. On the left will be section that lets you add page numbering and on the right is the title for the corresponding page. You can edit these page titles if you like. If you omit page numbers, Course Builder will use a a default numbering scheme.

  • Course Builder automatically adds an Introduction and a Conclusions page.

  • You can specify a prefix consisting of 1 to 3 characters for the generated HTML pages. The default prefix is "esh".

  • If you have entered your own page numbers, you can click on the "Sort" button to sort the pages according to your own numbering scheme.

  • After you make any desired edits, click the "Assemble" button to initiate the generation of the course.
Creation of a tar File or a WinZip File After you click the "Assemble" button, Course Builder initiates the creation of the custom course.

The following image shows the save for a Unix/Linux platform. The Course Builder automatically generates a tar file. Tar files are the standard archive format for Unix/Linux platforms. For Windows platforms, Course Builder can be configured to generate a WinZip file instead.

A file menu is presented which allows you to specify where you want to save the file. For the sake of discussion below, we will assume that we have saved the file to "/home/heckert/mycourse.tar".

Initial Course Builder Page
Extracting the Course to a Web Page
Extracting the Assembled Course 
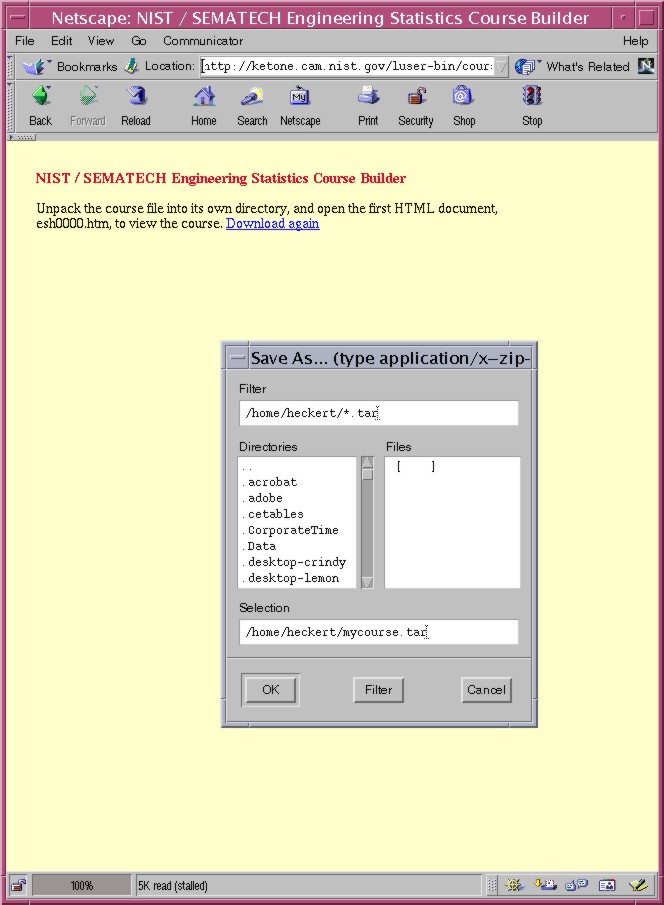
The next step is to extract the course on your local platform. We recommend that you extract the files to an empty directory. In this example, we could do something like
    cd /home/heckert
    mkdir mycourse
    mv mycourse.tar mycourse
    cd mycourse
    tar -xvf mycourse.tar
This will create a number of files of the form "esh*.htm". In addition, there may be some "*.gif" files created.

For Windows platforms, you will typically use WinZip to extract the file. Note that WinZip can extract Unix tar files as well as "*.zip" files (if Course Builder is installed on a Windows platform, it will typically be configured to create a "*.zip" file, if it is installed on a Unix/Linux platform it will typically be configured to create a tar file). If you have a program other than WinZip that can extract zip or tar files, then this program can be used in place of WinZip.

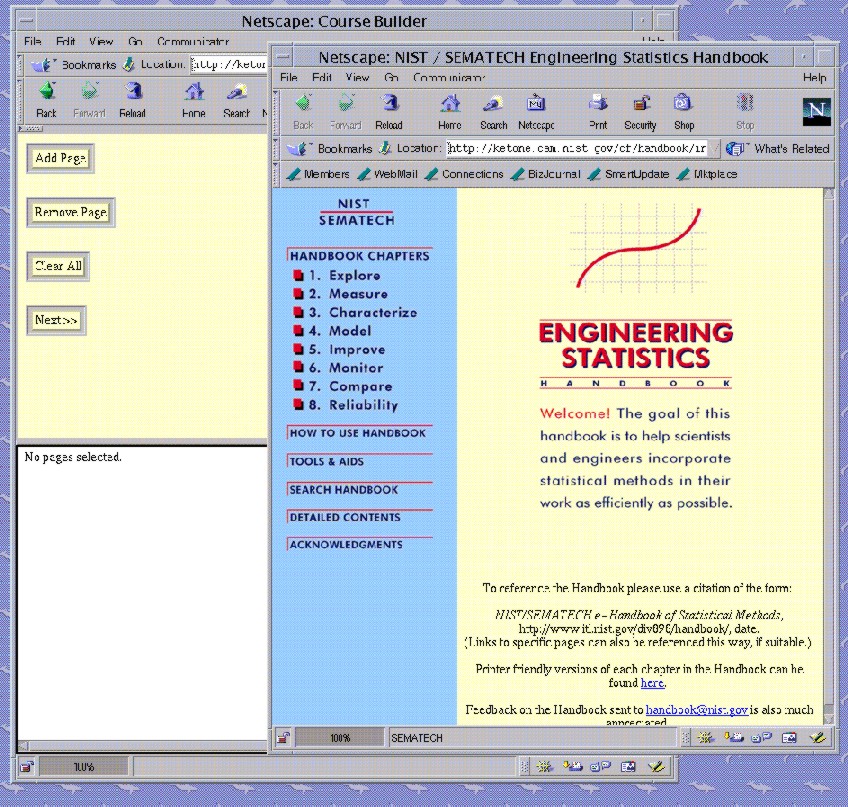
Viewing the Assembled Course Once you have extracted the files, you can simply use your browser to point to the desired page. The default initial page is "esh0000.htm". So for the example here, you would use the following URL:
    file:///home/heckert/mycourse/esh0000.htm

The pages in the assembled course will include "Next" and "Back" buttons on each page for navigation.

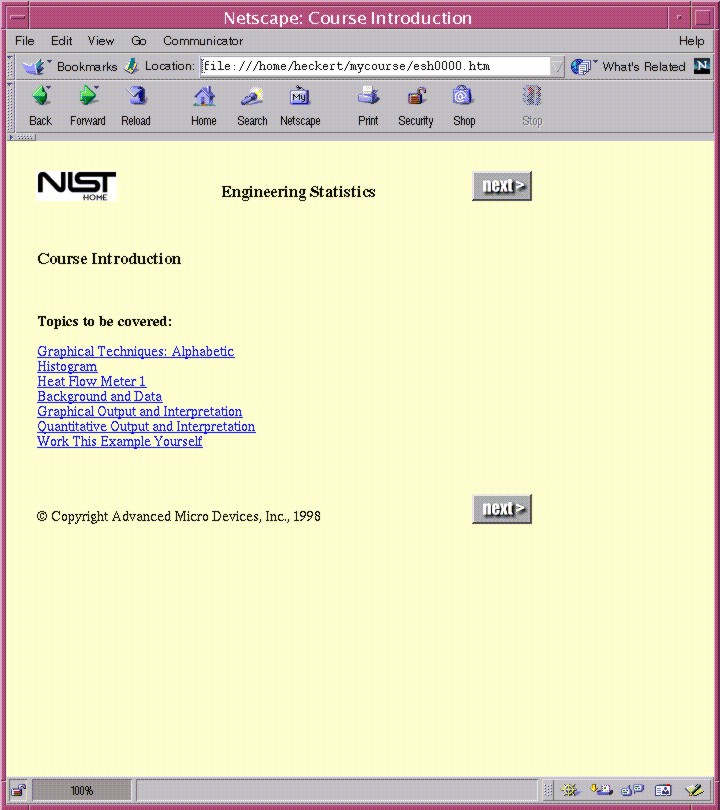
The following image shows the initial page of the assembled course for our example.

Initial Page in Assembled Course
Some Additional Issues After you have extracted the course, there are a few issues that need to be addressed.
  • You need to move the gifs located in the e-Handbook directory "cbuild" to the directory containing the assembled course ("mycourse" in the example above).

  • If the selected pages contain links to other e-Handbook pages, these links need to be modified.

    If the instructor is the only one navigating the pages (e.g., to generate paper copies or to teach the course in a slideshow like manner), you can safely ignore this issue.

    On the other hand, if you want students to be able to access the course on their own, you need to examine these links. If the link is to a page that is also included in the assembled course, then modify the link to the appropriate page in the assembled course. If the linked page is not included in the assembled page, then remove it or insert an absolute link to the e-Handbook.

Known Problems The following is a list of currently known problems with the Course Builder.
  • In some cases, not all gif files are properly extracted. For now, these problems have to be fixed manually.
We will try to address these problems in future releases of the Course Builder script.

If you discover additional bugs or have any comments regarding the Course Builder, these can be directed to the e-Handbook team.

Home Tools & Aids Search Handbook Previous Page Next Page